
What is AMP Pages and how does it work?
AMP stands for “Accelerated Mobile Pages”. This is a technology designed to make web pages load faster and provide a smoother experience for users on mobile devices. It simplifies web pages to their most essential elements and saves a faster version on Google's servers. This helps in showing content real quick.
AMP preloads content, like images and videos, before you click on them. So when you do tap to see them, they appear instantly because they were already loaded in the background.
Steps to Configure AMP Pages:
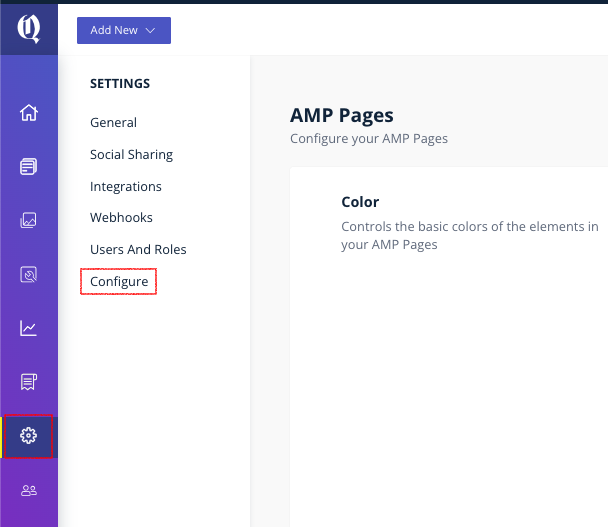
- Navigate to the workspace
- Access the Settings
- Click on the Configure option
-
Choose AMP and enter the necessary details
Points to remember for AMP pages:
- Avoid JavaScript
- Do not Use External Fonts
- Do not Use Complex Layouts
- Avoid Redirects
- Avoid using Non-Responsive Media
-
Do not Overload with Ads
To learn more about AMP pages, click on the following link.

Single Google Analytics session in AMP and NonAMP Pages
Google Analytics will be able to retain an end-user's session when the user navigates between AMP and non-AMP pages on your website.
Contact us at [email protected] to turn the feature on for your account.
AMP config API
Bold now has an API using which you can retrieve theAMPconfiguration that is setup for your publisher account. Refer documentation here.
Configuring Ads on AMP Pages
You can configure AMP ads directly in Bold CMS using ad units created in Google Ad Manager.
Step 1: Create Ad Units in Google Ad Manager
- Log in to Google Ad Manager.
- Go to Inventory → Ad Units → New Ad Unit.
- Enter details (Name, Ad Size) and Save.
- Copy the Ad Unit Path and DFP Network Code.
Step 2: Set Up Ads in Bold CMS
- Log in to Bold CMS.
- Navigate to Settings → Configure → AMP.
- Scroll to Advertisements.
- Enter your DFP Network ID and paste Ad Unit Paths for:
- Top Ad
- Body Ad
- Bottom Ad - Save your changes.
Note: Make sure each ad unit path is mapped to the correct slot and that the ad is configured properly in Google Ad Manager.
