Are you looking for a user-friendly platform to streamline your newsletter-sending process through RSS? Look no further than Mailer Lite! As of 2024, Mailer Lite offers an affordable alternative to other services like MailChimp, making it an attractive option for businesses and individuals alike.
With Mailer Lite, you can enjoy a 30-day trial period to explore its features before making any commitments. Once you're ready to subscribe, you'll find that their monthly plans are quite reasonable, starting at just $10 and $20, each offering distinct benefits tailored to your needs.
To help you get started, we've prepared a comprehensive guide on signing up for Mailer Lite and creating RSS campaigns for sending newsletters. Whether you're a beginner or an experienced user, this guide will walk you through the process step by step.
How to Register on Mailerlite:
1. Go to https://www.mailerlite.com/signup to begin the registration process.
2. Fill in the required information such as Company details, Name, email address, and password. Alternatively, you can opt for Social signup using platforms like Gmail or Microsoft for added convenience.

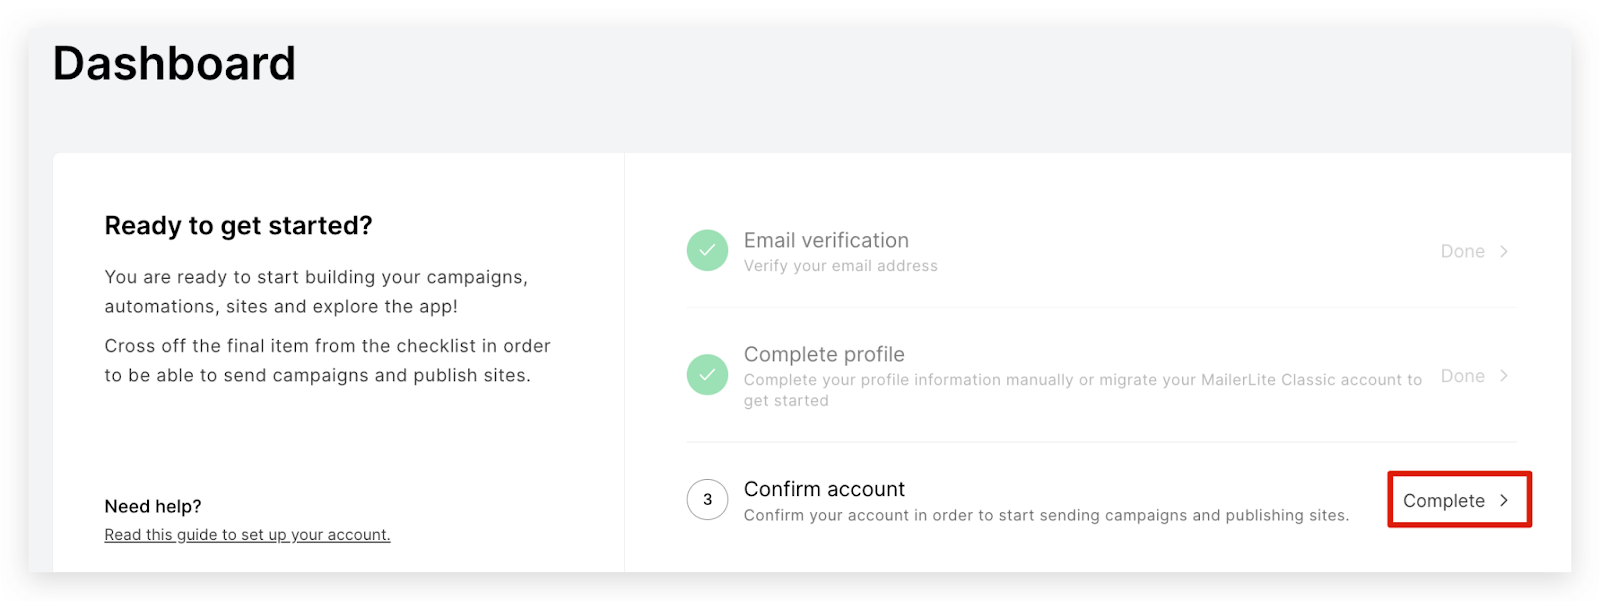
3. After completing the signup, verify your email to finalize your profile.
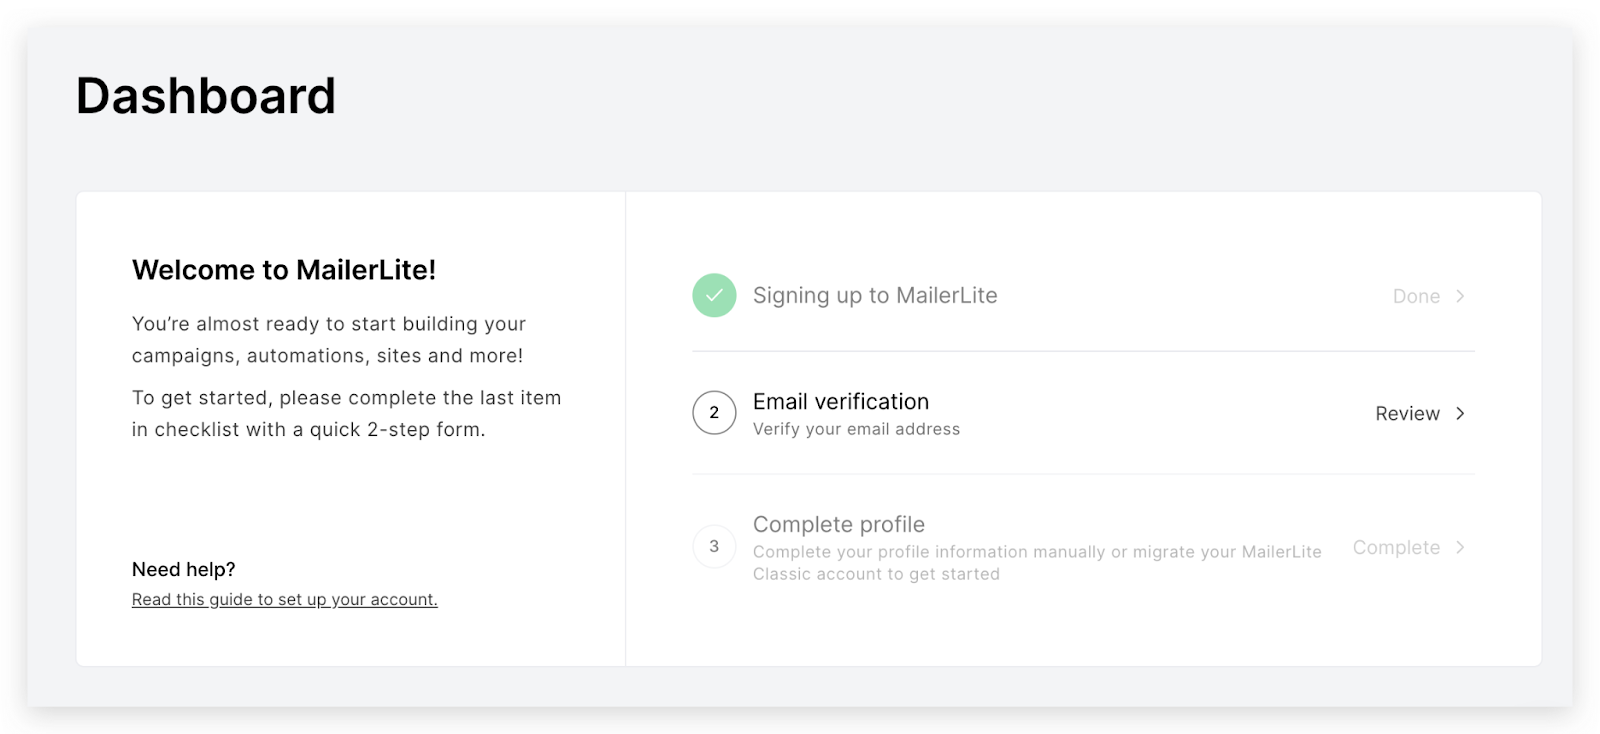
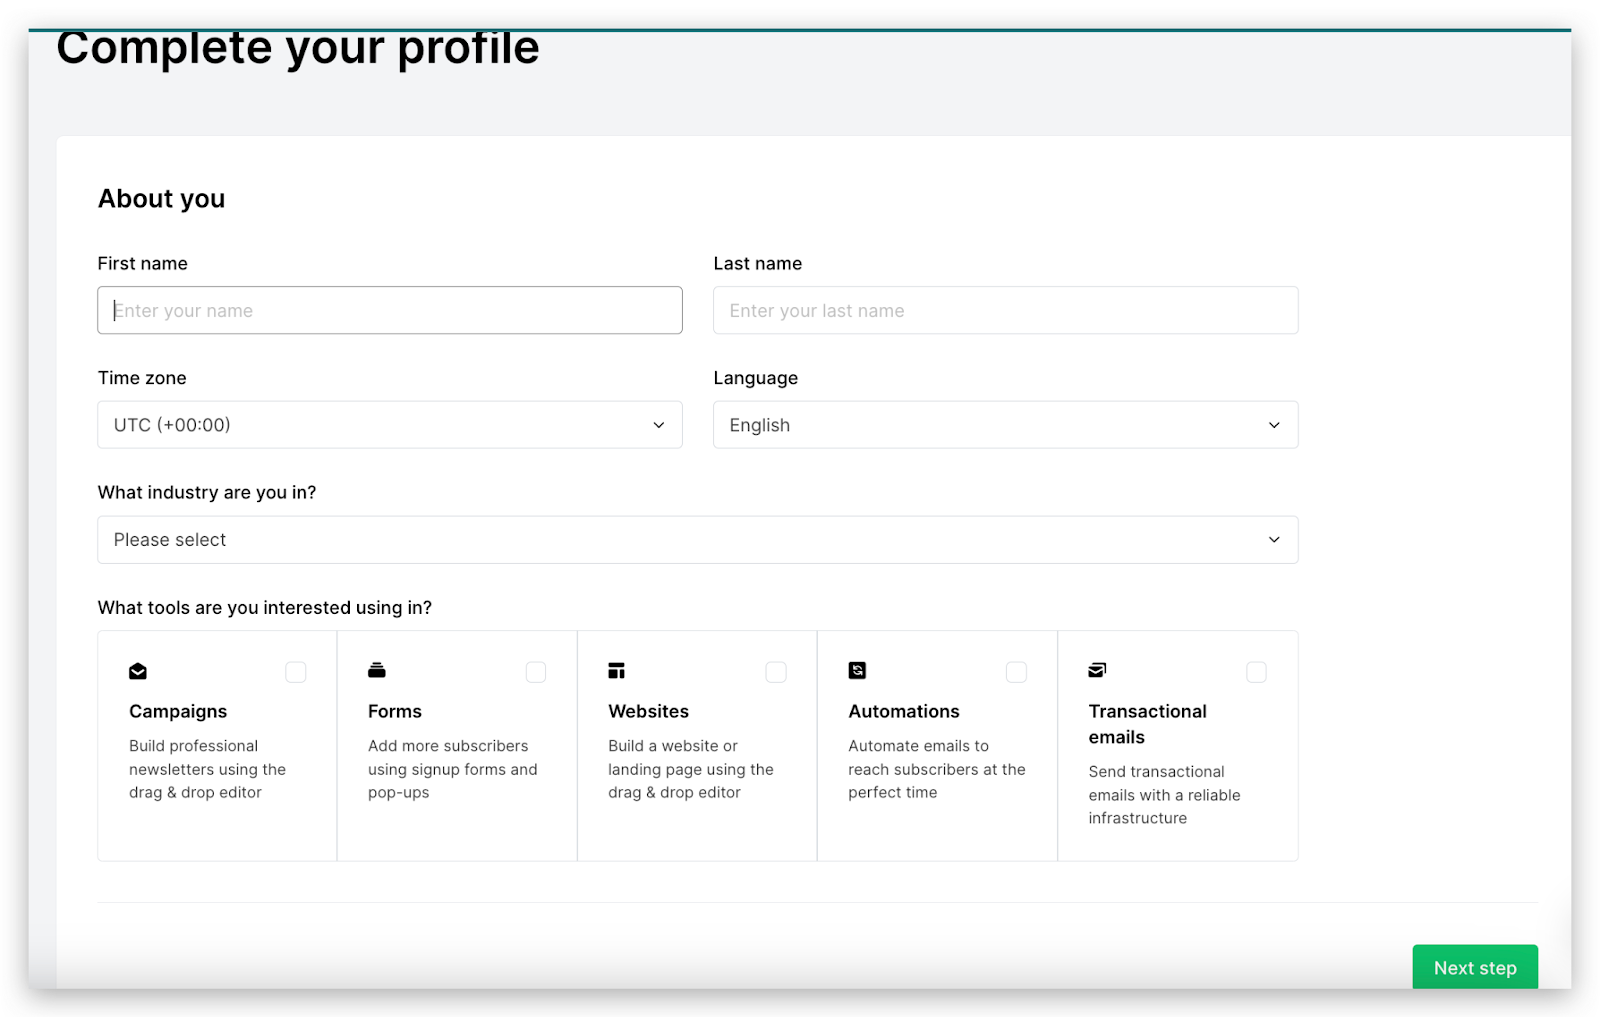
4. Once verified, you'll be directed to the dashboard where you can further customize your profile.
5. Provide additional details, such as whether you already have subscribers, and specify the type of content your site will feature.

6. If you selected the website option, enter your website details; if you chose an alternative, input your Social Media URLs.
Note: The website you enter must have an associated email address with the corresponding domain. For example, if your website is "gmail.com," make sure you have an email address linked to this domain. This is necessary for Mailerlite to send authentication emails.

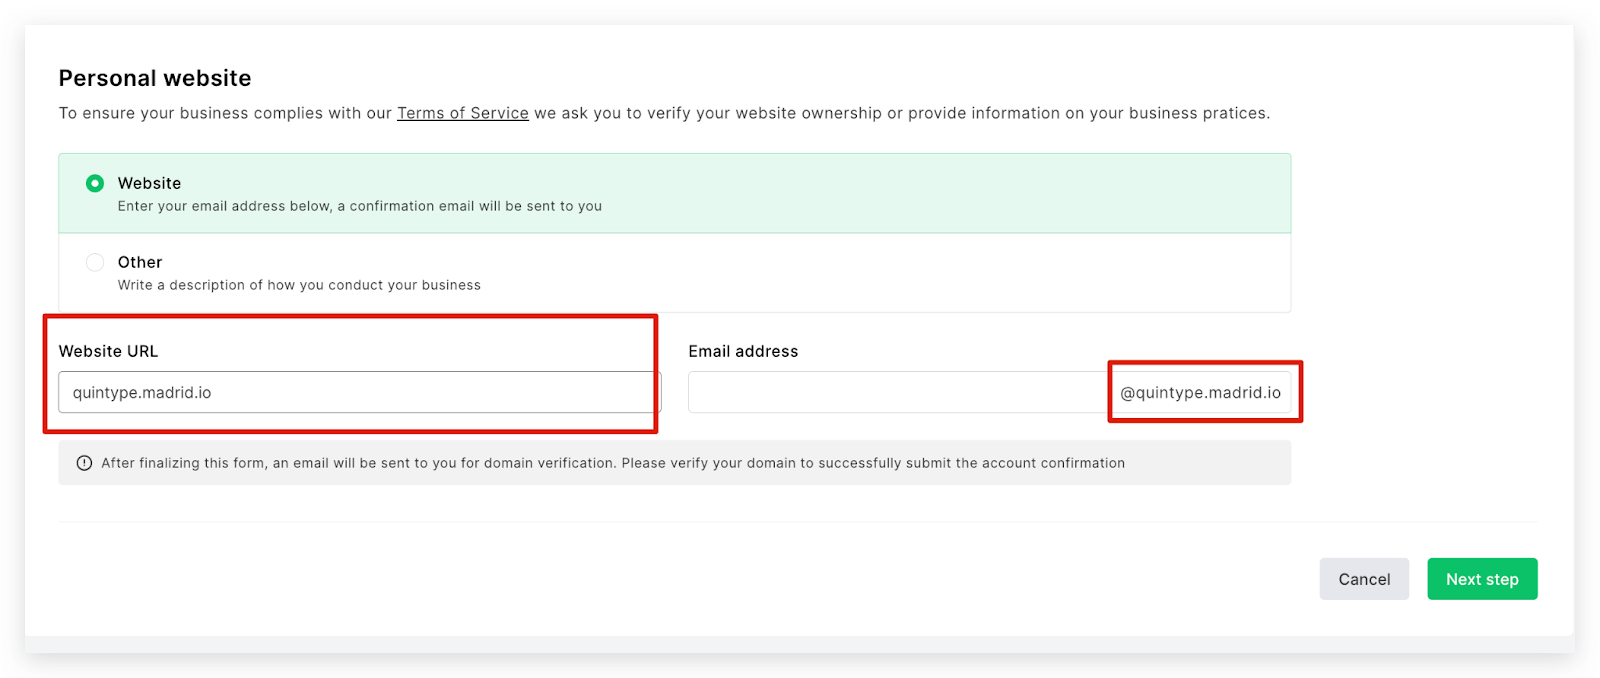
If you haven't received the authentication email for the domain, please check your spam/junk folder to locate it.
Adding Subscribers:
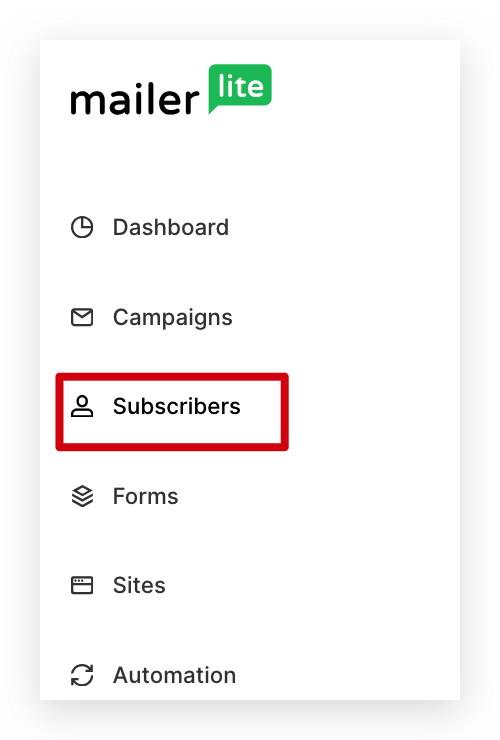
1. Navigate to the "Subscribers" section located on the left-hand side of the interface.
2. Within the Subscribers page, find and click on "Add Subscriber" to begin the process of adding subscriber details.
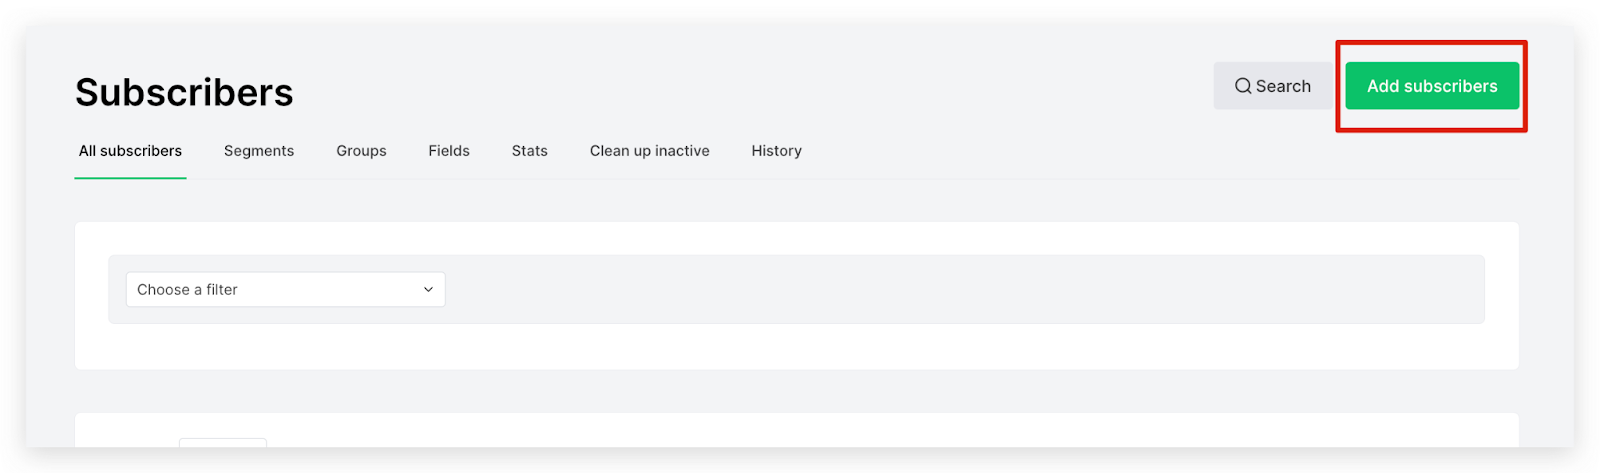
3. Choose from several convenient options to upload subscriber details, such as uploading from a CSV file, copying and pasting from Excel, adding a single group, or importing directly from Mailchimp. If using a CSV file, select this option and proceed with the upload.
Creating Campaigns:
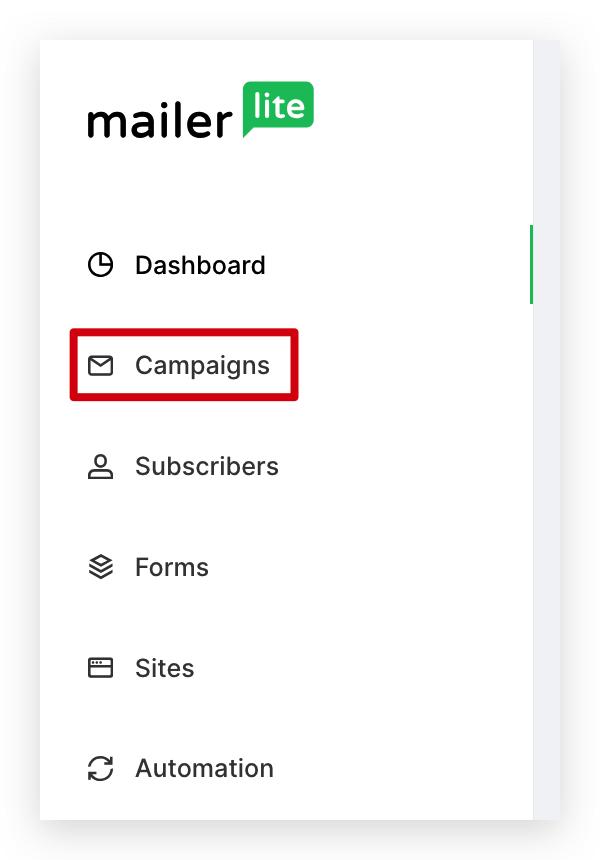
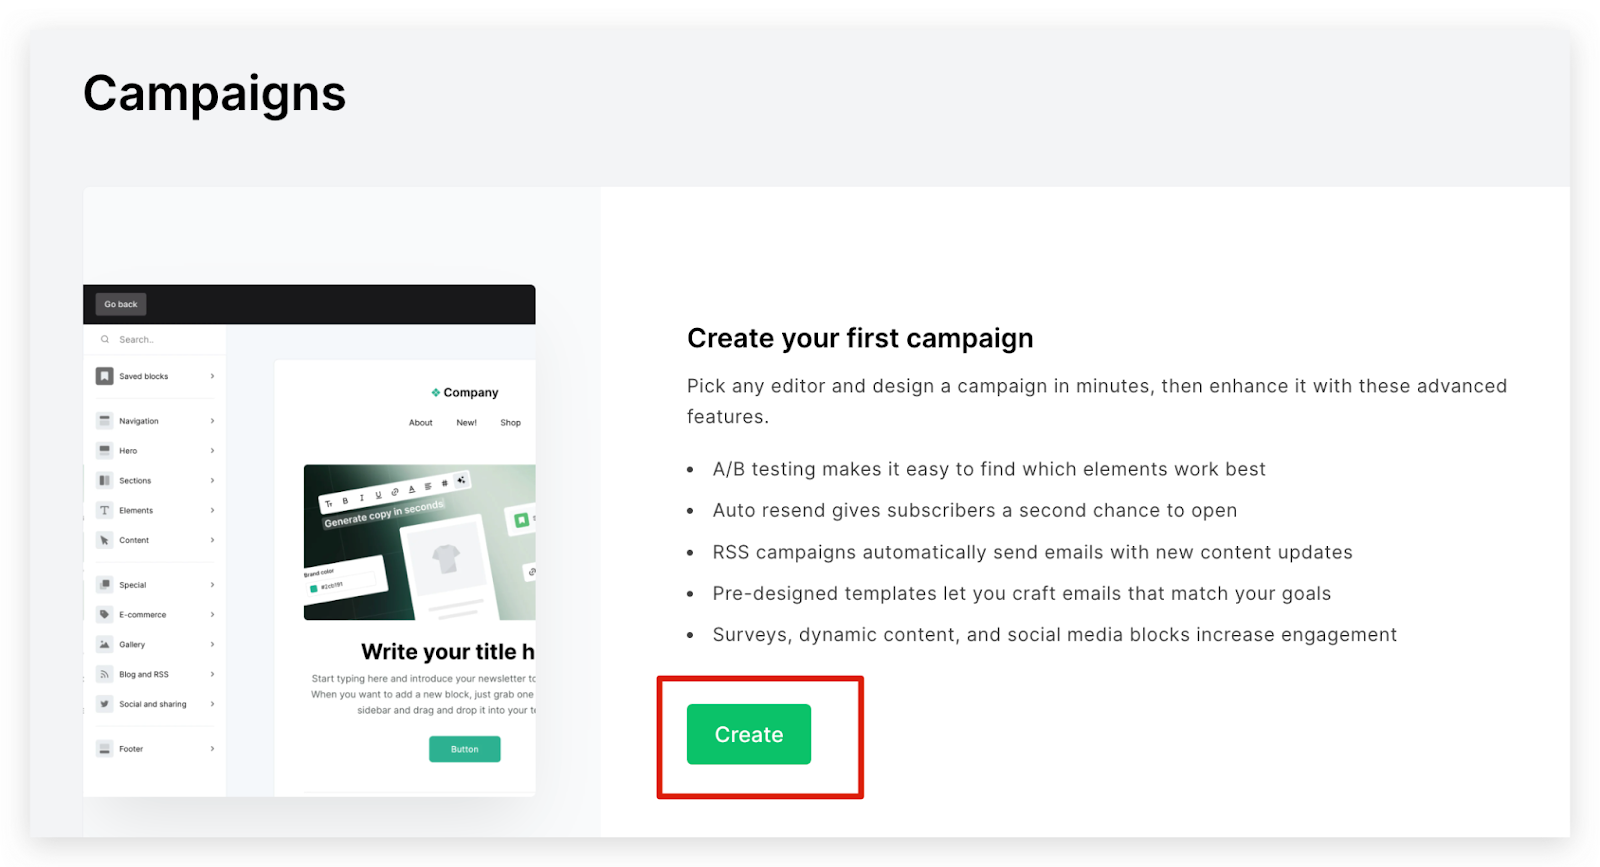
1. Start by going to the Dashboard and selecting "Campaigns" from the left-hand menu. Then, click on "Create" to start the campaign creation process.
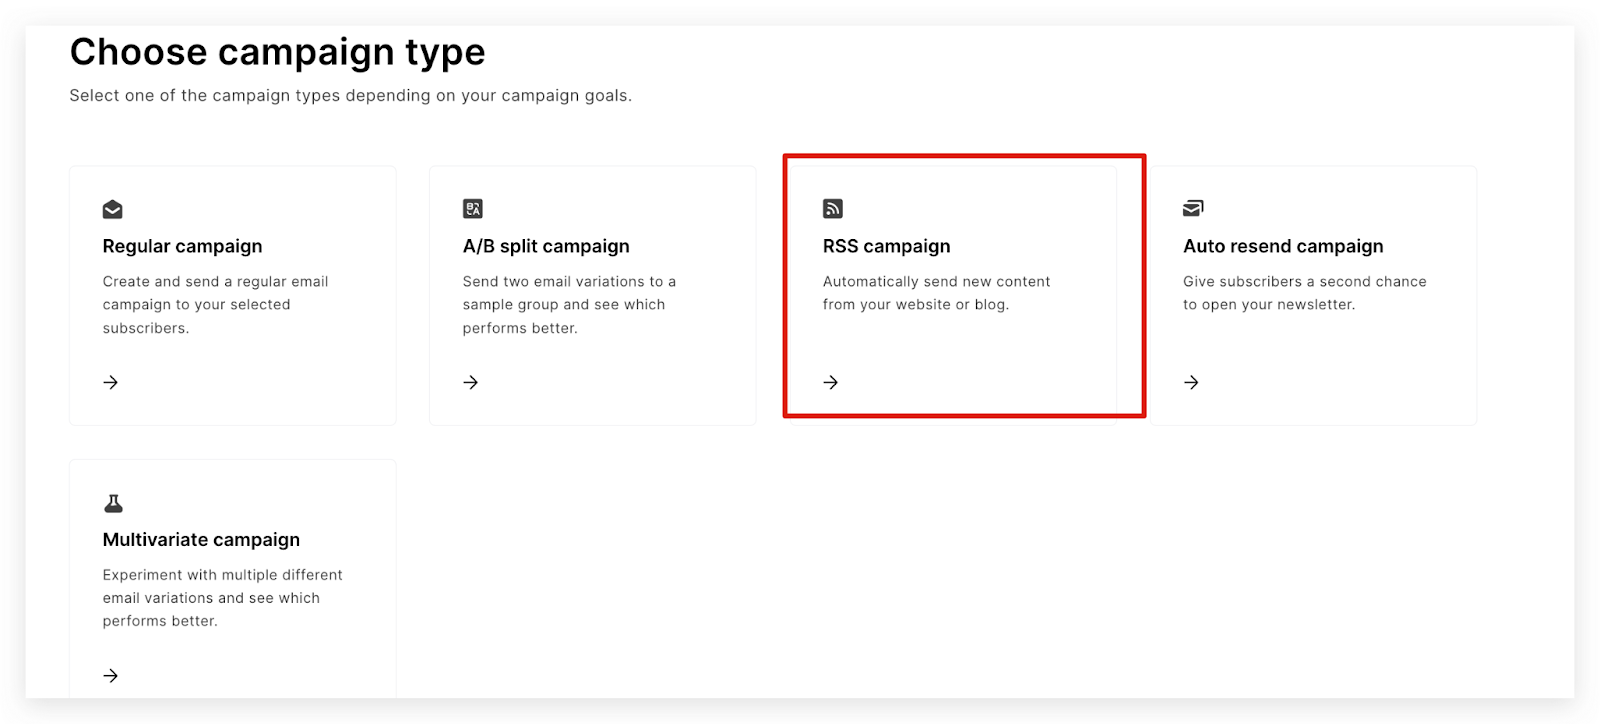
2. Choose the campaign type from the available options, opting for "RSS Campaign" if applicable.
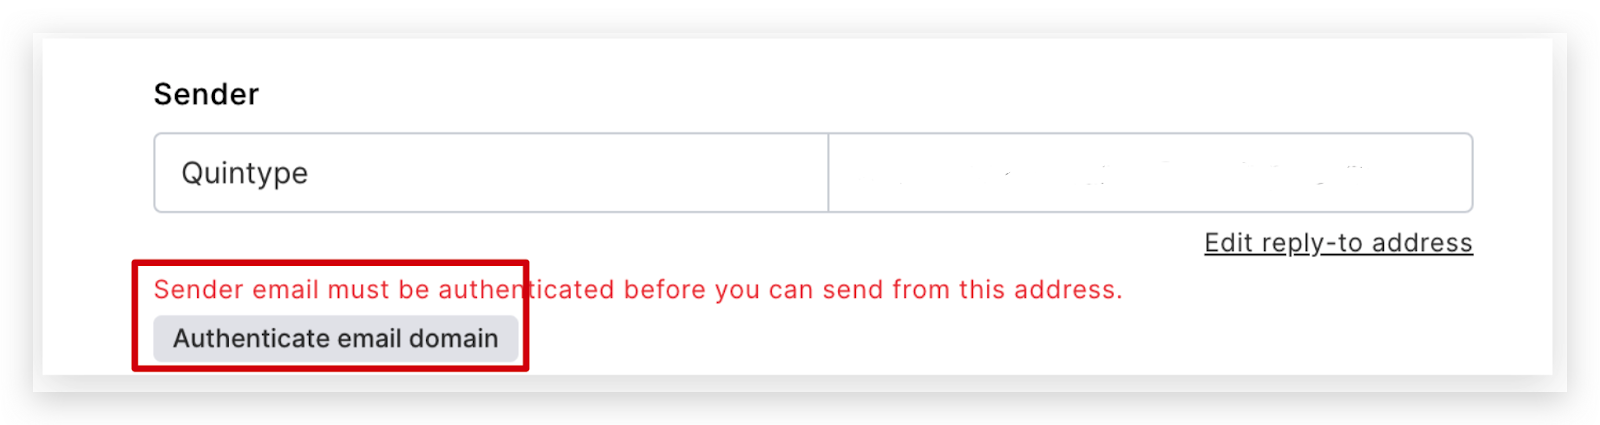
3. If your domain isn't authenticated yet, you'll be prompted to authenticate it.
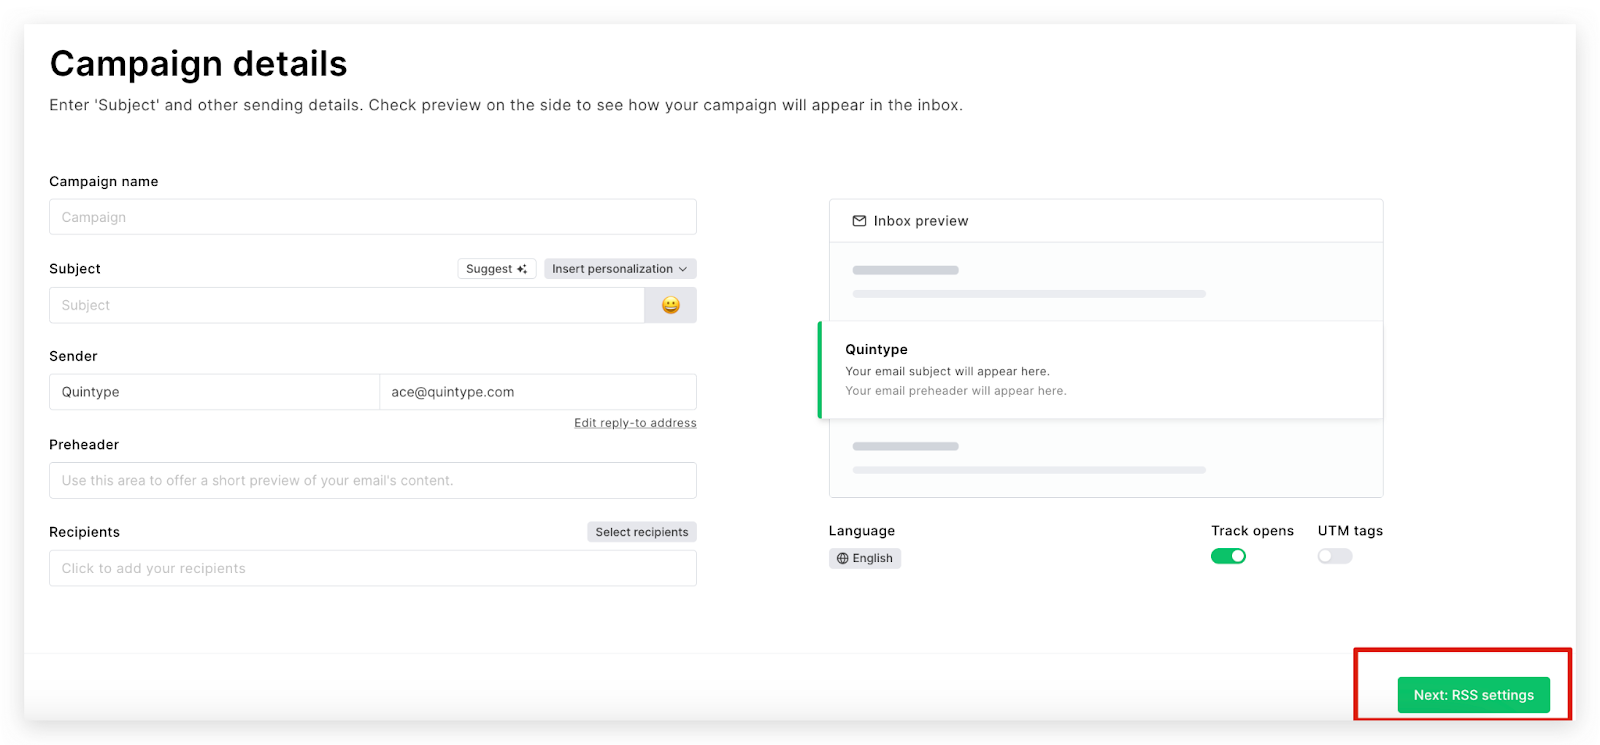
4. After domain authentication, enter the required details and click on "Next: RSS settings."
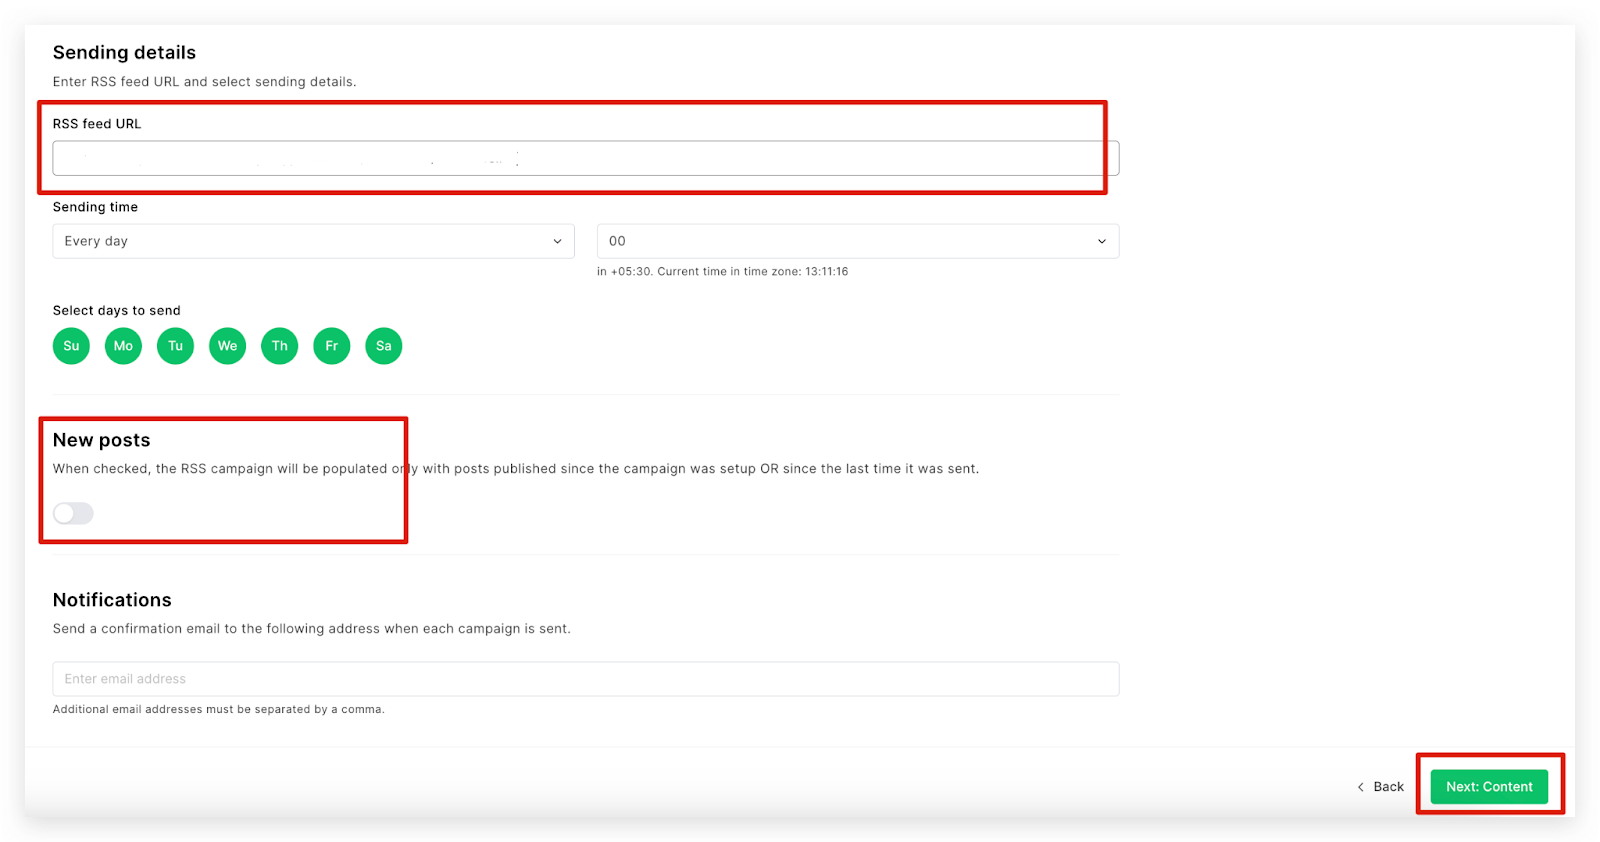
5. Enter the RSS feed and select the preferred day and time for newsletter dispatch. If desired, toggle the "New Posts" option to send newsletters exclusively for new stories published since the last email. Specify the email address for delivery notifications.
Note: If you want to send newsletters containing only new stories published since the last email, activate the "New Posts" option. Also, remember to specify the email address for delivery notifications.
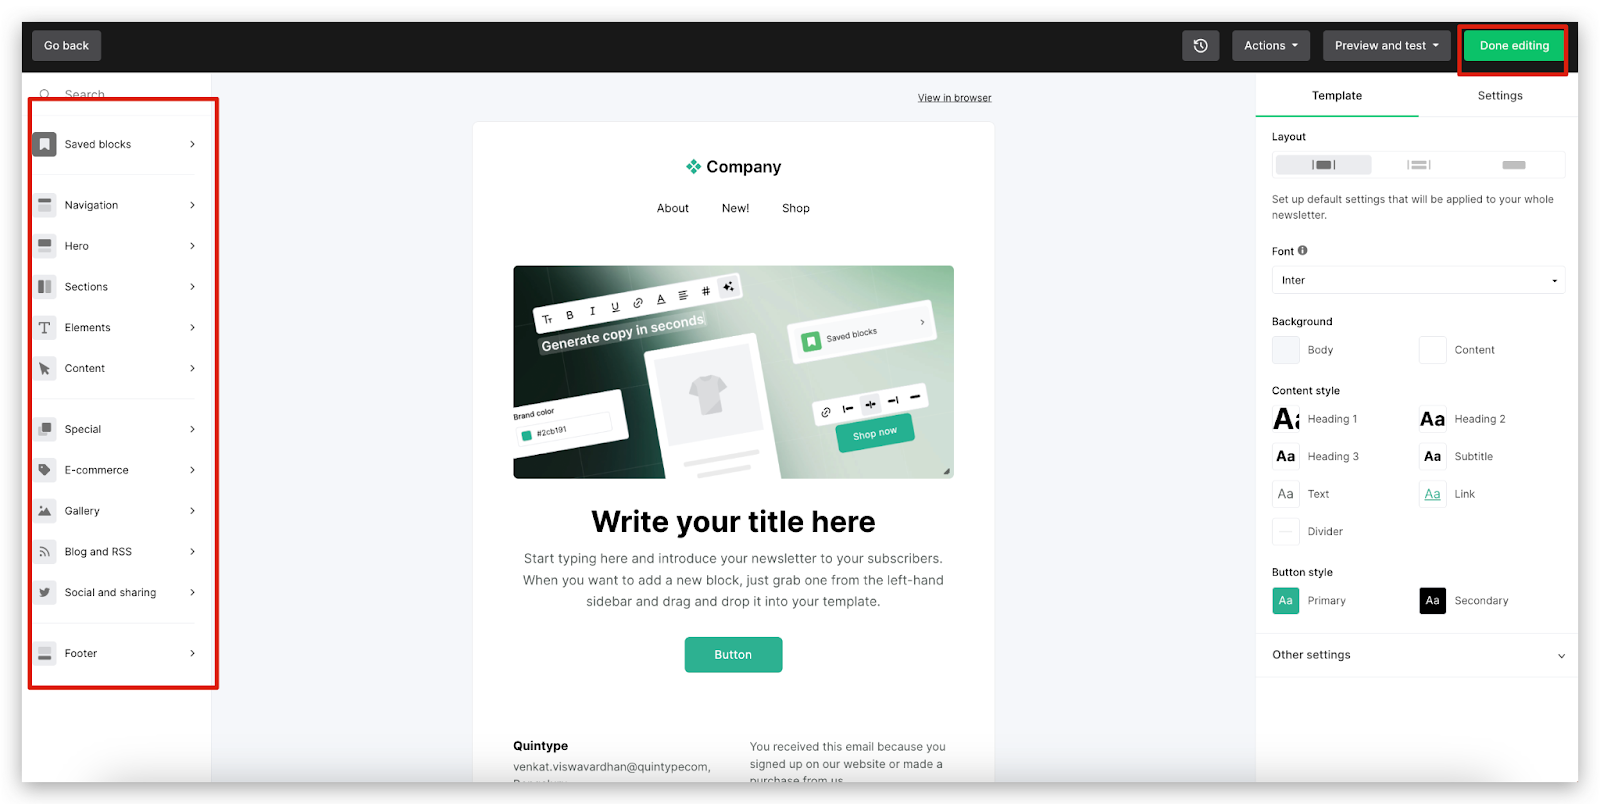
6. Choose a pre-designed template or create one from scratch.
7. Select a pre-designed template or start from scratch.
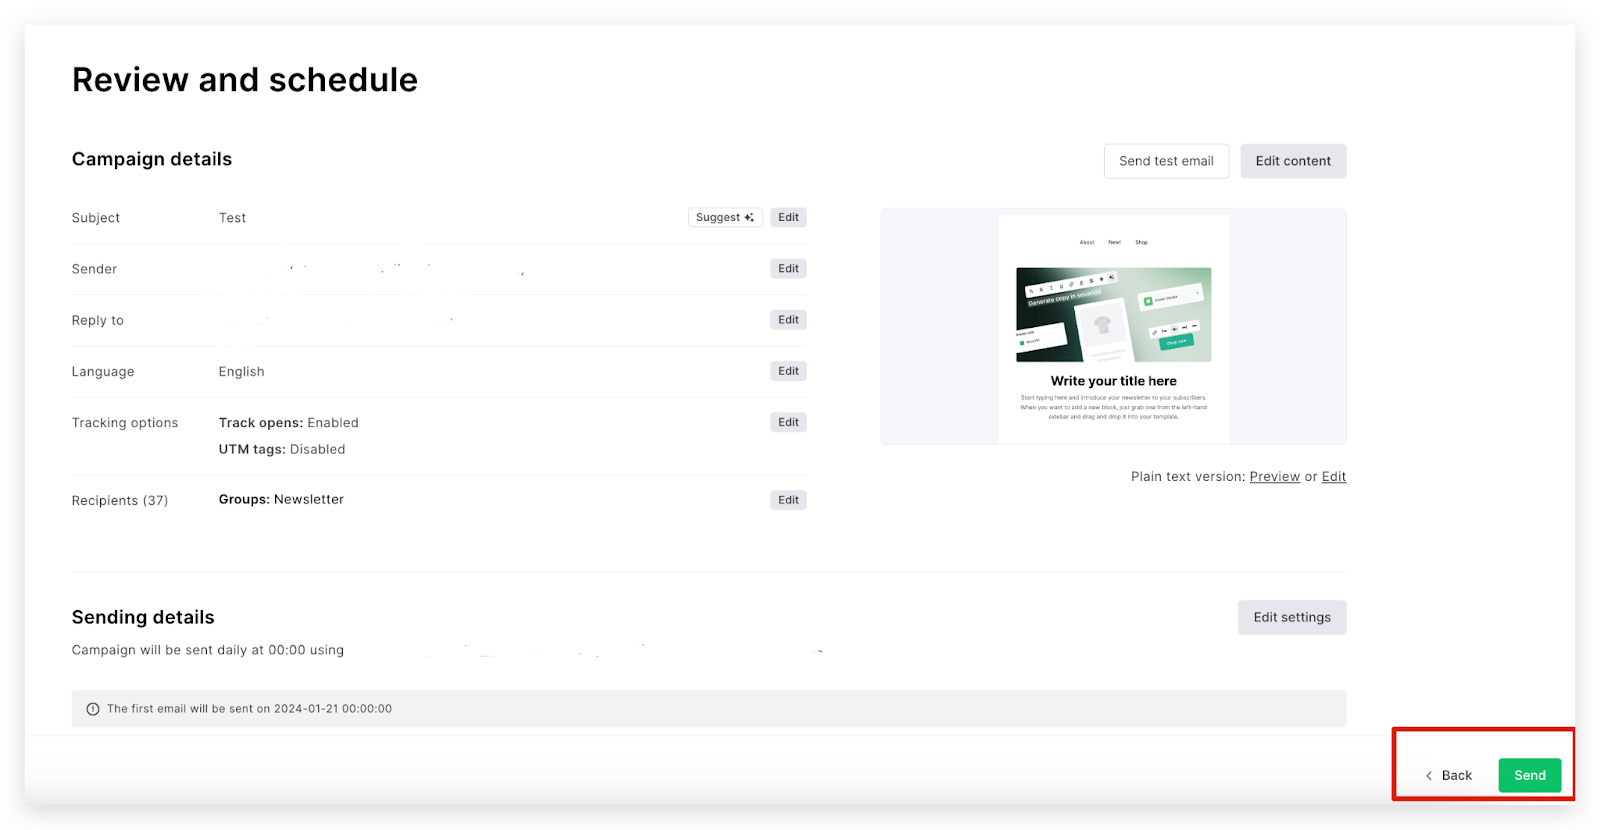
8. Review the details, and when satisfied, click on "Send" to schedule the newsletter for the selected day and time.