
To set up a Mailchimp account, follow these steps:
1. Go to the official website, https://mailchimp.com/
2. Click on the "Create an Account" or "Sign Up" button to begin the registration process.
3. Enter your required details, such as your name, email address, and any other information prompted by the registration form.
4. After completing the form, Mailchimp will send an activation email to the email address you provided during registration.
5. Access your email inbox, find the activation email from Mailchimp, and click on the verification link provided to verify your account.
6. Once your account is verified, you will be redirected to the Mailchimp website.
7. Now, you will be prompted to enter additional details, including your postal address and website information. Provide these details to complete the account setup.
8. After setting up your account, you will be taken to the "Plan" page. At this stage, you have the option to choose the free plan, which allows you to start using Mailchimp's basic features.
That's it! You've successfully set up a Mailchimp account and can now start utilizing the services.
How to set up email templates in MailChimp
1. Open MailChimp and click on the "Content" tab.
2. From the drop-down menu, select "Email templates."
3. Click on the "Create a template" button to begin creating your template.
4. You will be prompted to choose an email builder from the available options.
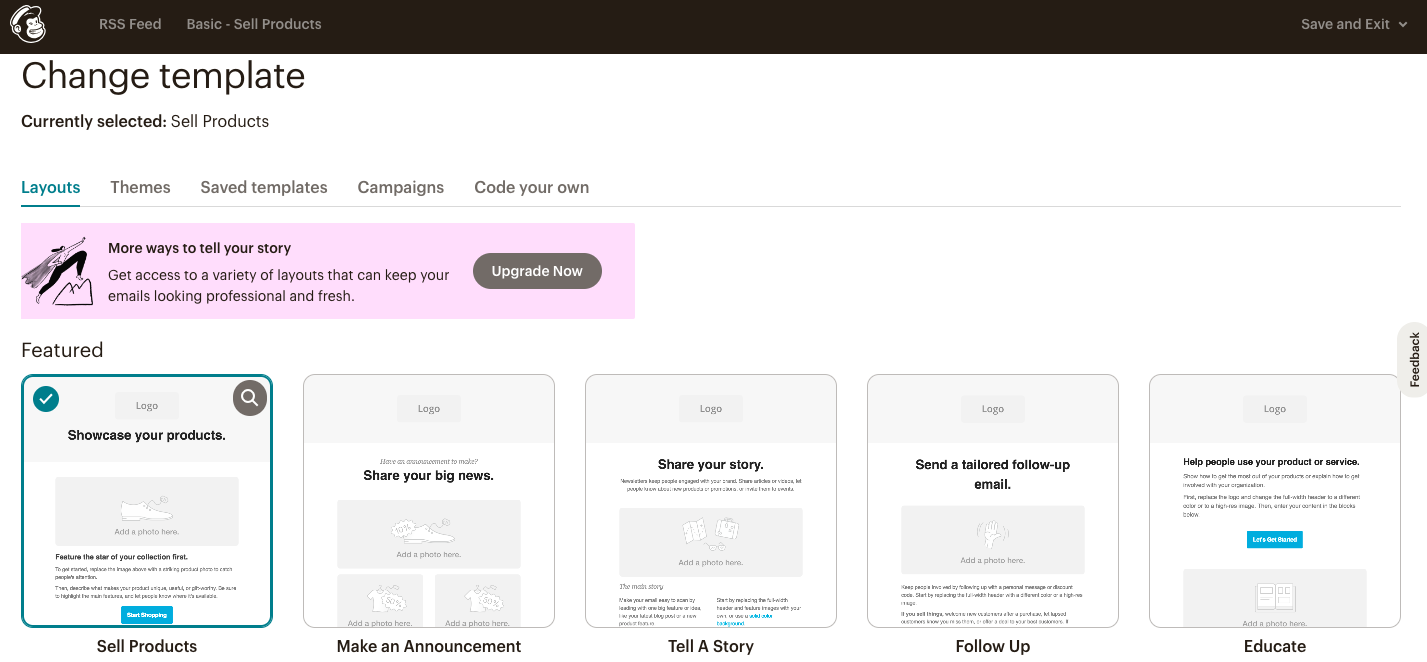
5. In the "Choose a template to start from" panel, you have three choices: "Saved templates," "Mailchimp templates," or you can "Code your own" from scratch.
6. Once you've made your selection, hover over the template you want to use and click on "Select."
You're now ready to customize your chosen template and create engaging emails for your audience in MailChimp!
How to set up automated emails based on the collection (using RSS feed)
To add the audience from the audience dashboard, follow these steps:
1. Navigate to the audience dashboard in Mailchimp.
2. Click on "Add Contacts" to start adding new contacts to your audience.
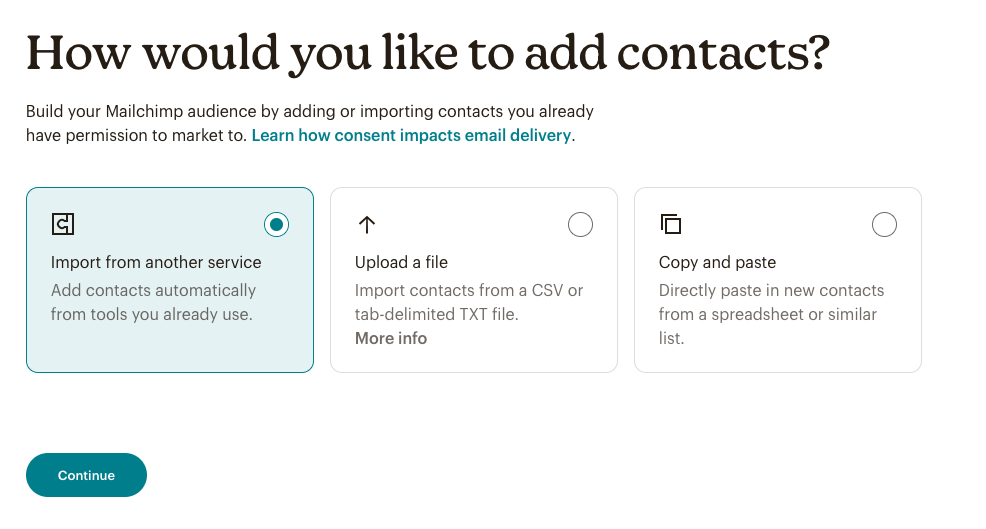
3. Choose the preferred method to add contacts (e.g., manual entry, import from file, etc.).
Next, to create a new campaign using an RSS feed, proceed with the following steps:
1. Open the URL: https://us20.admin.mailchimp.com/campaigns/#/create-campaign/explore/rss
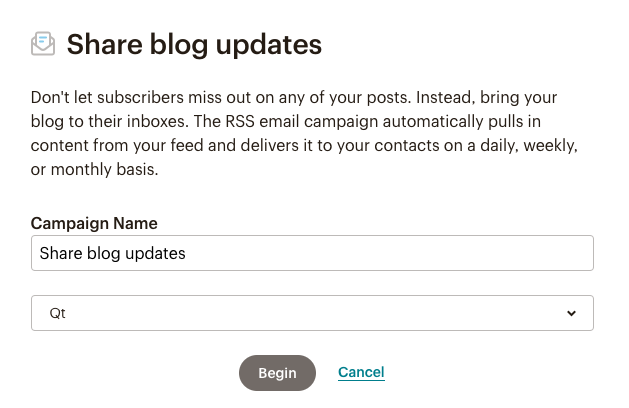
2. Enter a campaign name for your new campaign.
3. Select the desired audience you added earlier from the dropdown list.
4. Click on the "Begin" button to continue with the campaign creation process.
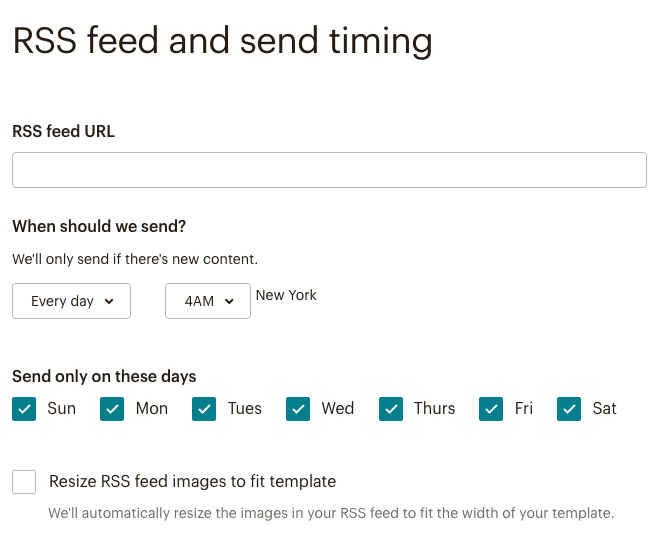
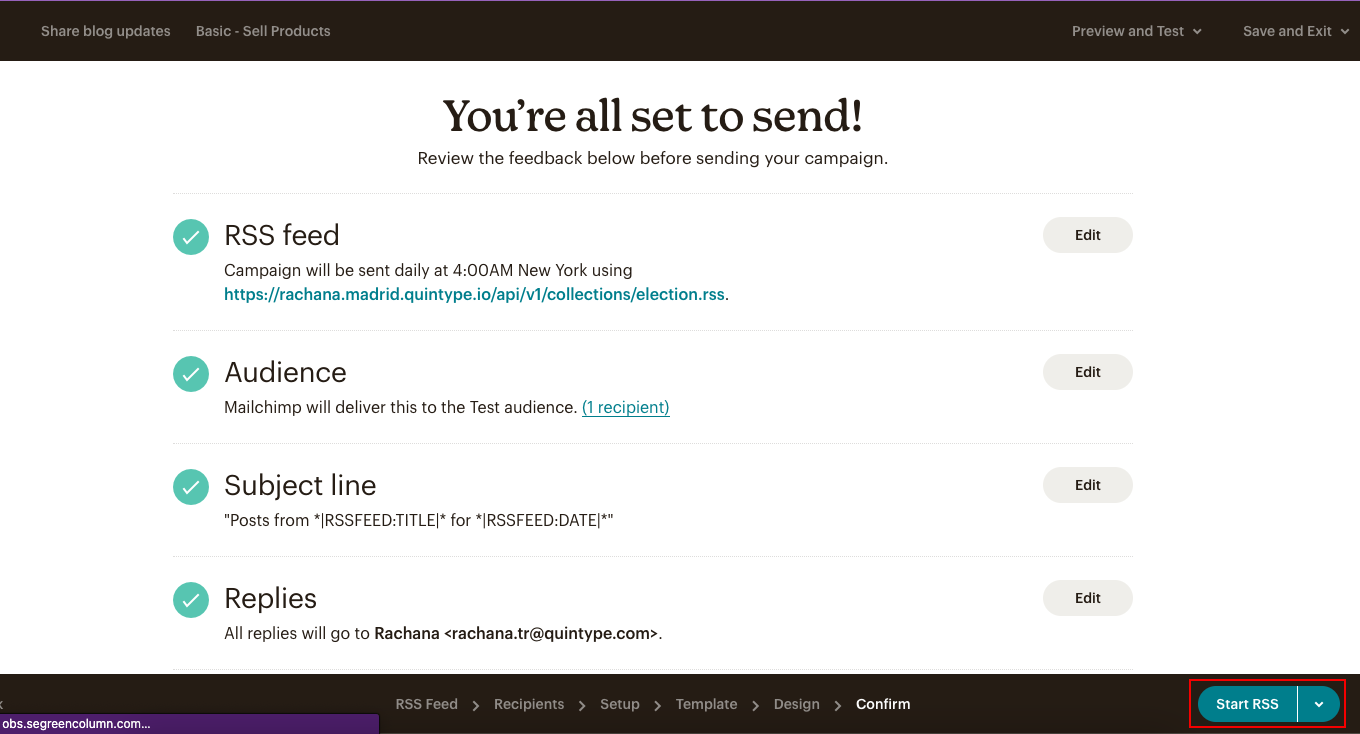
5. You will be redirected to a page where you can enter the RSS feed URL that you want to use for the campaign.
6. Additionally, you can specify the time and other details related to the RSS feed.
7. Once you have entered all the necessary information, click on the "Next" or "Continue" button to proceed with the campaign setup.
8. Remember to follow any additional steps or prompts to finalize your campaign creation using the provided RSS feed.
9. You will get a page to enter RSS feed URL, time, and other details
10. Click on "Next" to proceed to select the recipients for your campaign.

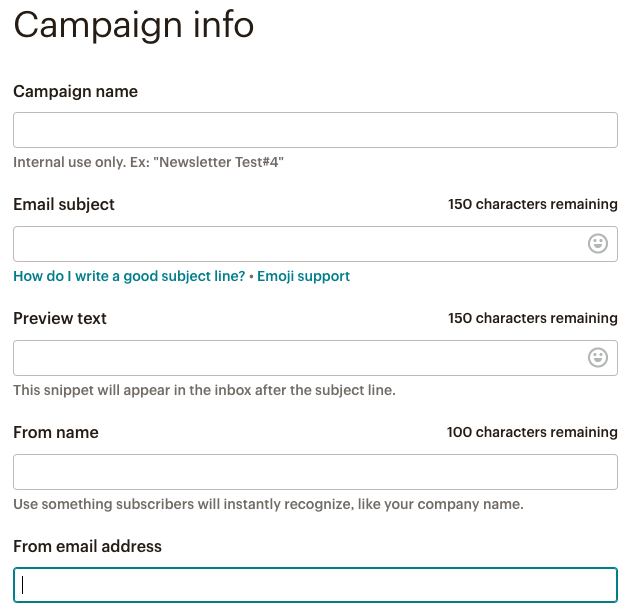
11. After selecting the recipients, click on "Next" to add setup details like campaign name, email subject, preview text, etc.
12. Click on "Next" to choose a template for your campaign (note that there are only a few free templates available).
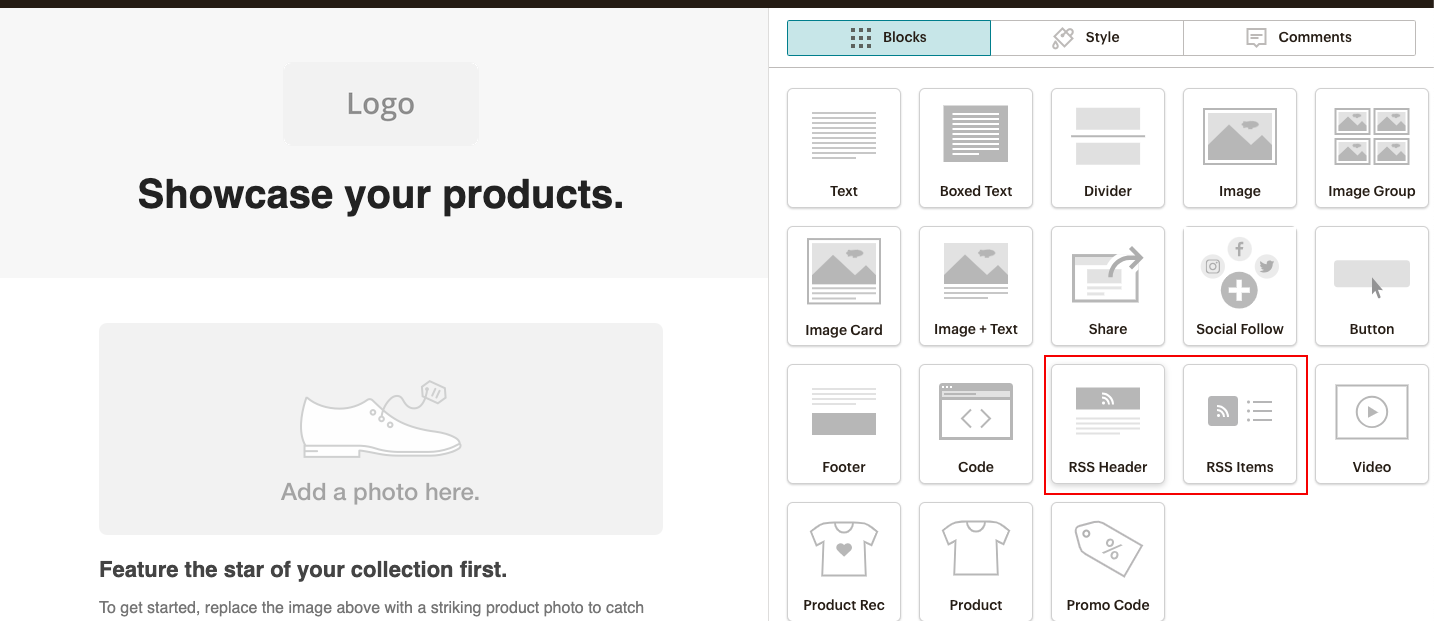
13. Then, click on "Next" again to start the design phase. You can drag and drop the RSS header and RSS items, and even add text, code, and other elements as needed.
When new stories are added to the collection, the Newsletter is sent out on a scheduled day and time.
How to update the user list from Bold Consumers (CSV and json)
Please follow these steps to generate consumer report in Bold Workspace and import it to Mailchimp:
1. Open Bold Workspace and navigate to the "Consumers" section.
2. Click on the "Send Report" button.
3. The generated consumer report will be sent to the email address that was added during the configuration process.
4. Now, switch to the Mailchimp dashboard and go to the "Audience" dashboard.
5. Click on "Add Your Contacts" to initiate the contact import process.
6. Choose the option to "Upload a File" and proceed with the import.
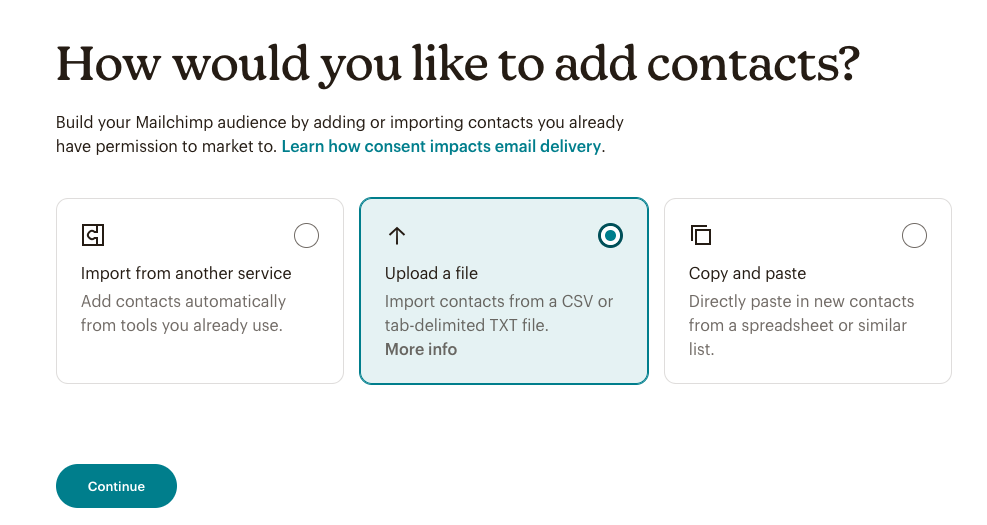
7. You will be provided with an option to browse the consumer list from your system.
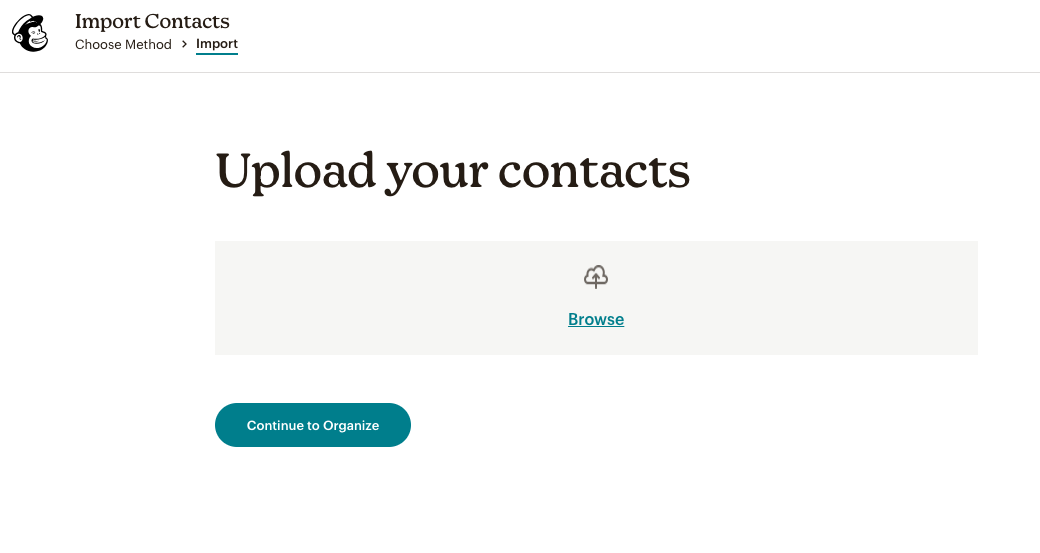
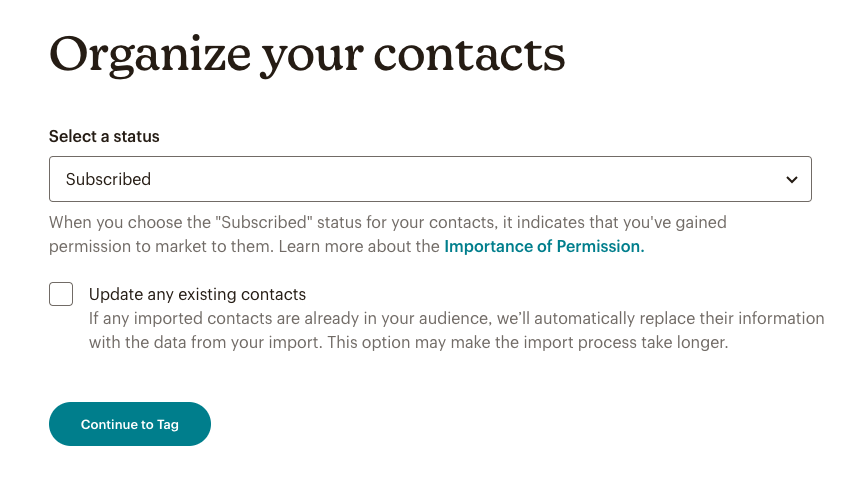
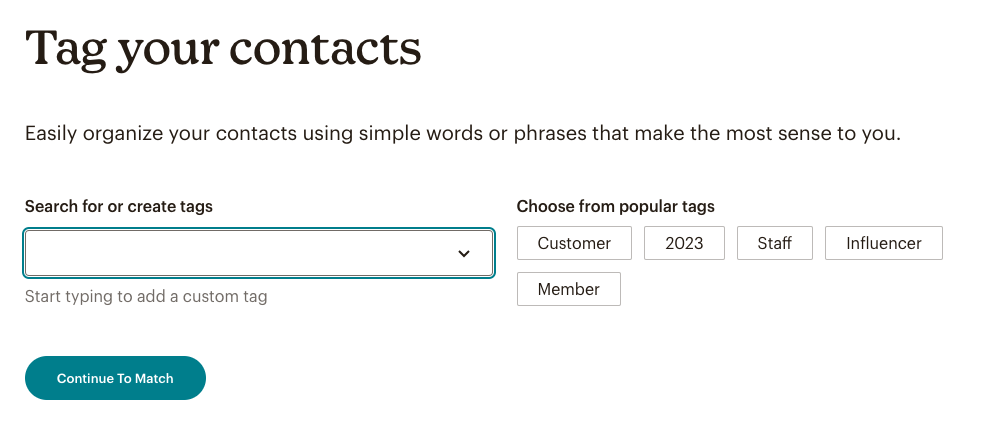
8. Organize your contacts and finalize the import.
9. Once this is done, you'll locate the consumer's information under "Manage Contacts" under audience section.