
Facebook auto-post refers to the automatic publishing of content from a CMS to Facebook. Quintype provides integration with social media platforms like Facebook, allowing users to share their content on their Facebook pages or profiles easily.
To ensure a smooth and timely Facebook Auto-posting setup from Bold CMS, a few Facebook-side steps must be completed in advance. These are required by Facebook and help avoid delays during integration or App Review.
Before proceeding with the integration, please review the prerequisites below.
- Your Facebook Business Verification is completed and approved
- Access Verification for the app is approved in the Facebook Developer Console
- You have active access to the Facebook account and Developer account used for setup
- You can promptly approve any login confirmations, 2FA requests, or emails sent by Facebook
- The Facebook Page has the correct Admin or Editor role permissions
- You are prepared to share a short screencast demonstrating publishing from Bold CMS
Please note:
Quintype can guide you through the process, but cannot complete Business and Access verifications on your behalf.
Facebook review timelines and approval decisions are managed entirely by Facebook.
Facebook Auto-posting may function without completing these steps; however, its reliability cannot be guaranteed and it may stop working at any time if they remain incomplete.
Completing these steps in advance helps ensure a faster and more reliable setup experience.
To set up a Facebook Autopost, you need to follow the steps below:
1. Setting up a Facebook developer account and creating an App.
2. Configuring Facebook ID, secret key, and other important App settings
3. Integrating the App with Bold CMS and connecting the Facebook social media account, where the posts will be shared automatically.
Facebook App Setup:
If you already have a Facebook developers account, please skip steps 2 to 14. Otherwise, follow the steps below to create a new developer account:
1. Go to the website https://developers.facebook.com
2. Click on the "Log In" option in the upper right corner of the website.
3. On the next page, click on the "Sign Up" option to create a new developer account.
4. Click on "Create a New App." You will see multiple options.
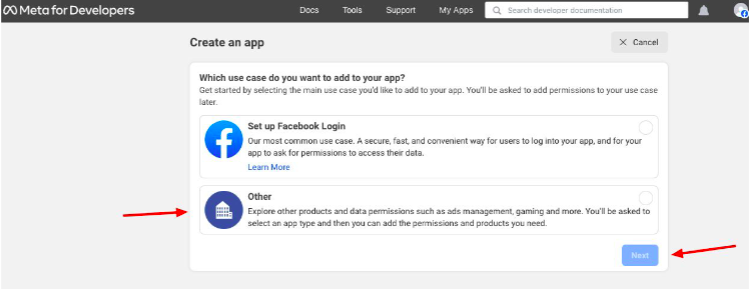
5. On the next page, select "Other" and click on "Next."
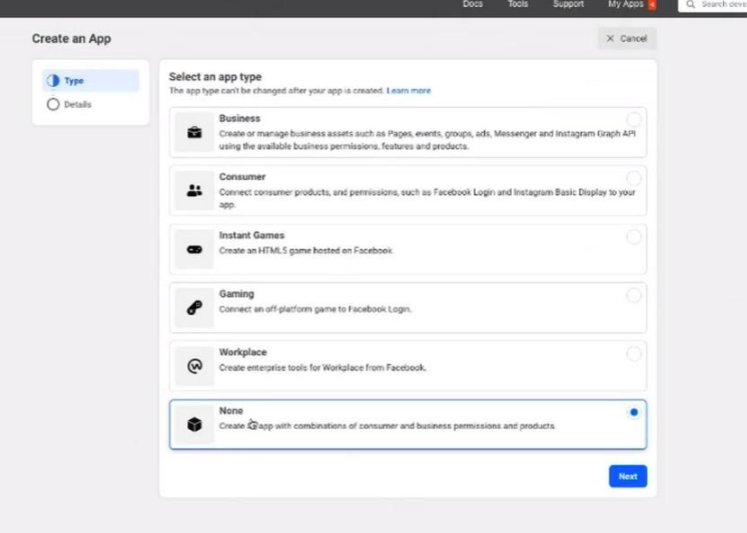
6. You can choose either "Business" or "None." Both options are suitable for your business.
7. Enter the App display name and App contact email.
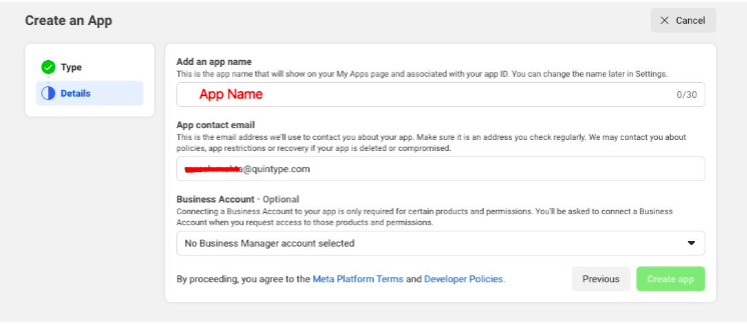
8. Under "Business Manager Account," select "No Business Manager Account Selected."
9. Click on "Create App ID." A new App ID will be generated.
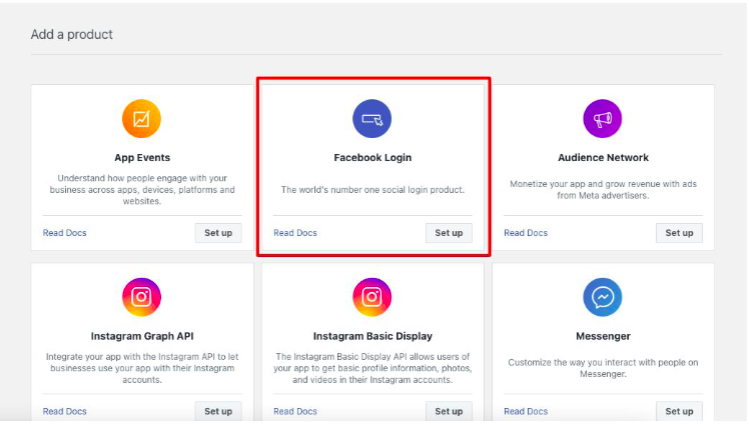
10. Now, go to "Facebook Login" and select "Set Up."
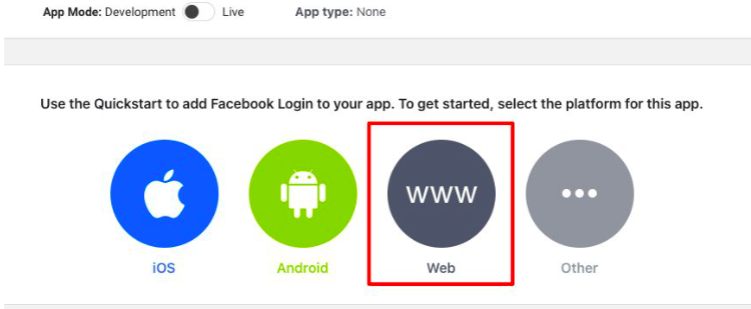
11. Select "Web" from the given options. You can also choose iOS, Android, or others if applicable.
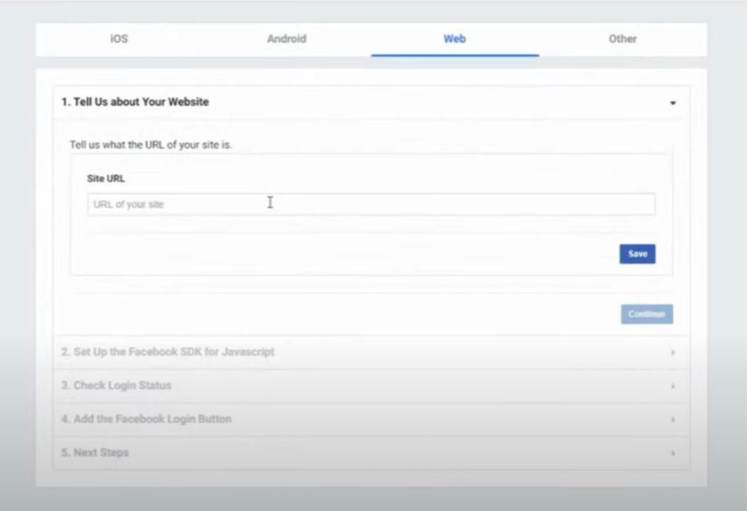
12. Enter your website URL and click on “Save.”
Follow only Step 1, and for all the subsequent steps, click on “Next.”
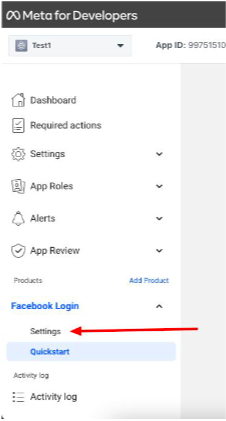
13. After completing the step 6 as shown in the image, go to the "Settings" option on the left-hand side of the screen, above “Quickstart.”
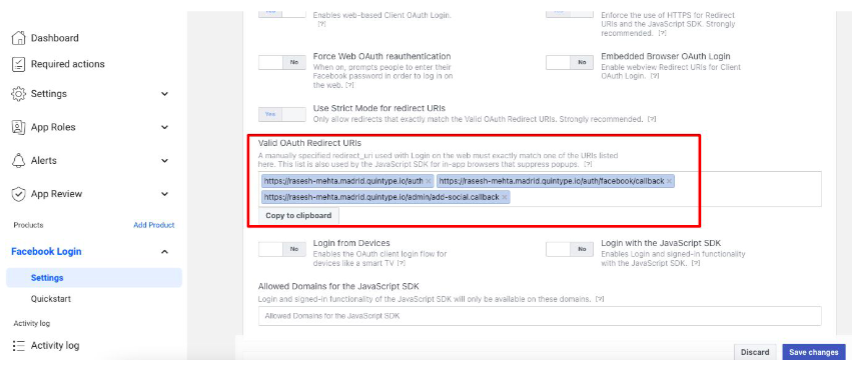
14. Enter the client OAuth settings in the "Settings" section.
Kindly enter the Valid OAuth Redirect URLs in the following pattern as shown in the screenshot below:
a. Site_URL/auth
b. Site_URL/auth/facebook/callback
c. Site_URL/admin/add-social.callback
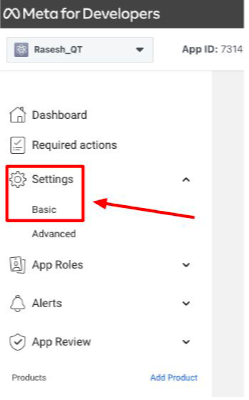
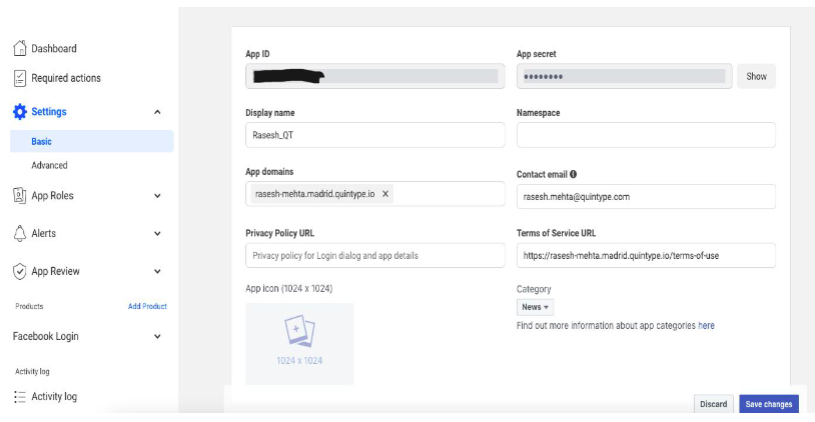
15. Click on Settings (Left side menu) > Basic
a. Add the following information.
● Display Name
● App Domains
● Contact Email
● Privacy Policy URL
● Terms of Service URL
● Upload App Icon (1024 x 1024)
● Select Category
● Business Use
● Enter the site URL under the Website
● Update Data Protection Officer Contact Information (Optional)
b. Save App ID and secret key highlighted in the screenshot below, which needs to be updated in the Bold-Editor later.
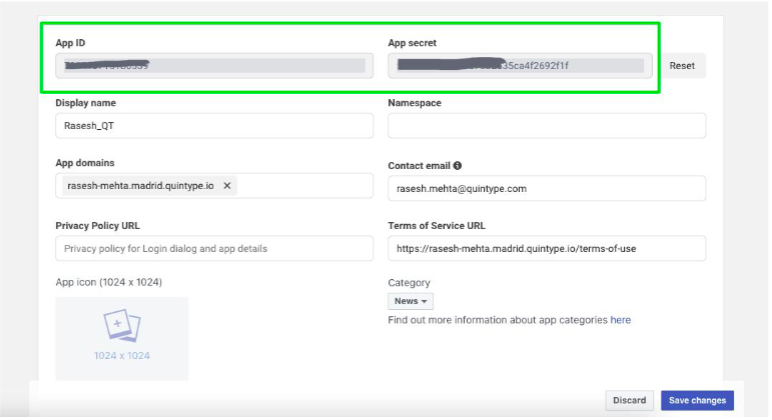
16. Click on the Save Changes button.
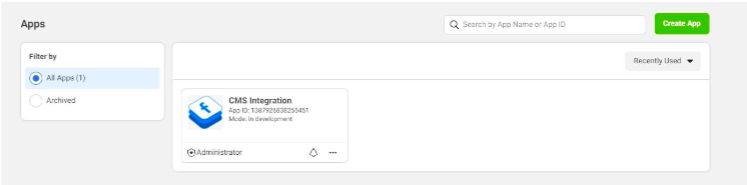
17. If you already have the developer's account, log in using your social media account. Go to the dashboard and click on My Apps in the right-hand corner of the site to view the App details.
18. If you want to create a new App again, click on create App and get started.
Editor Setup:
Prerequisite: Successfully logged into the Quintype Editor with Admin role.
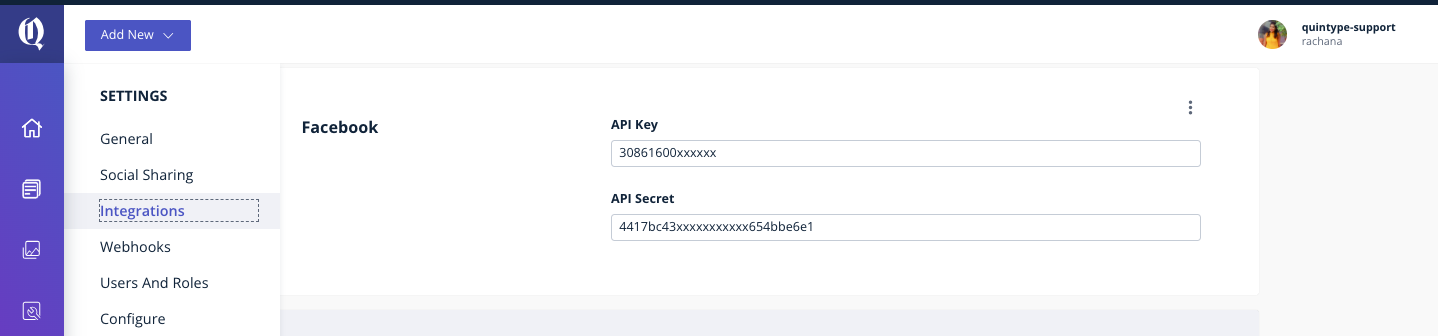
1. Update Facebook App ID and Secret key
a. Navigate to Workspace > Settings > Integrations
b. Select the 3-dot symbol on the upper right corner next to the Facebook API Key
c. Please select edit and update App ID & Facebook API Secret on the pop-up which appears on the right.
2. Linking Facebook page to the Editor
a. Navigate to Workspace > Settings > Social Sharing
b. Click on Add New Connection
3. Then Click on Add Facebook account. You will now be routed to a Facebook page for authentication
4. Authenticate using the Facebook ID.
a. Click on Continue as User (Username)

b. Allow Facebook App to use Manage pages and Publish pages permissions
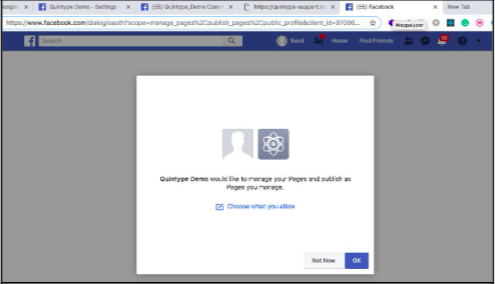
4. Click on OK

5. The site will be redirected to Quintype Bold Editor
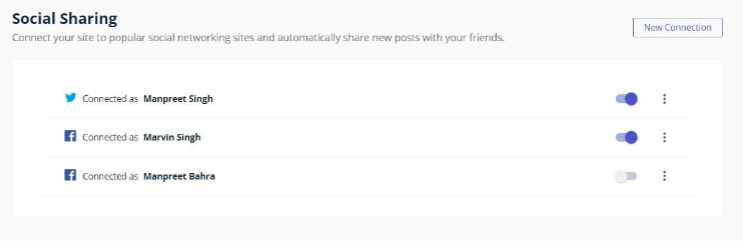
6. To check the added Facebook pages. Navigate to Workspace > Settings > Social Sharing
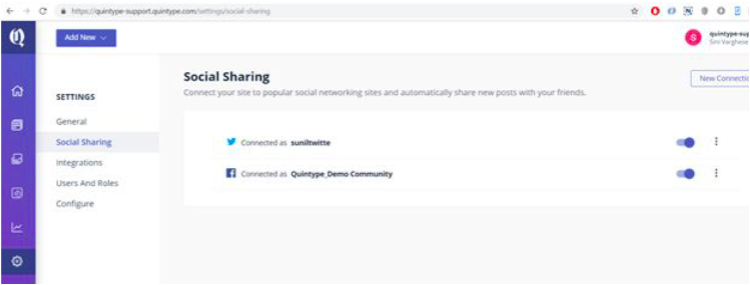
a. Two accounts will be seen (As shown in the screenshot)
i. Profile page
ii. Facebook page.
7. Enable only the Facebook page, where you want your stories to be auto-posted.
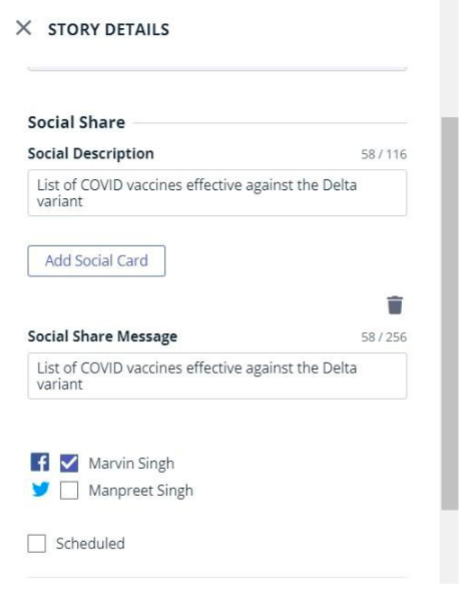
8. To test facebook auto post, try doing it for the new stories about to be published. Set social cards under the story details, enter the social share message and description, select the account, and publish.
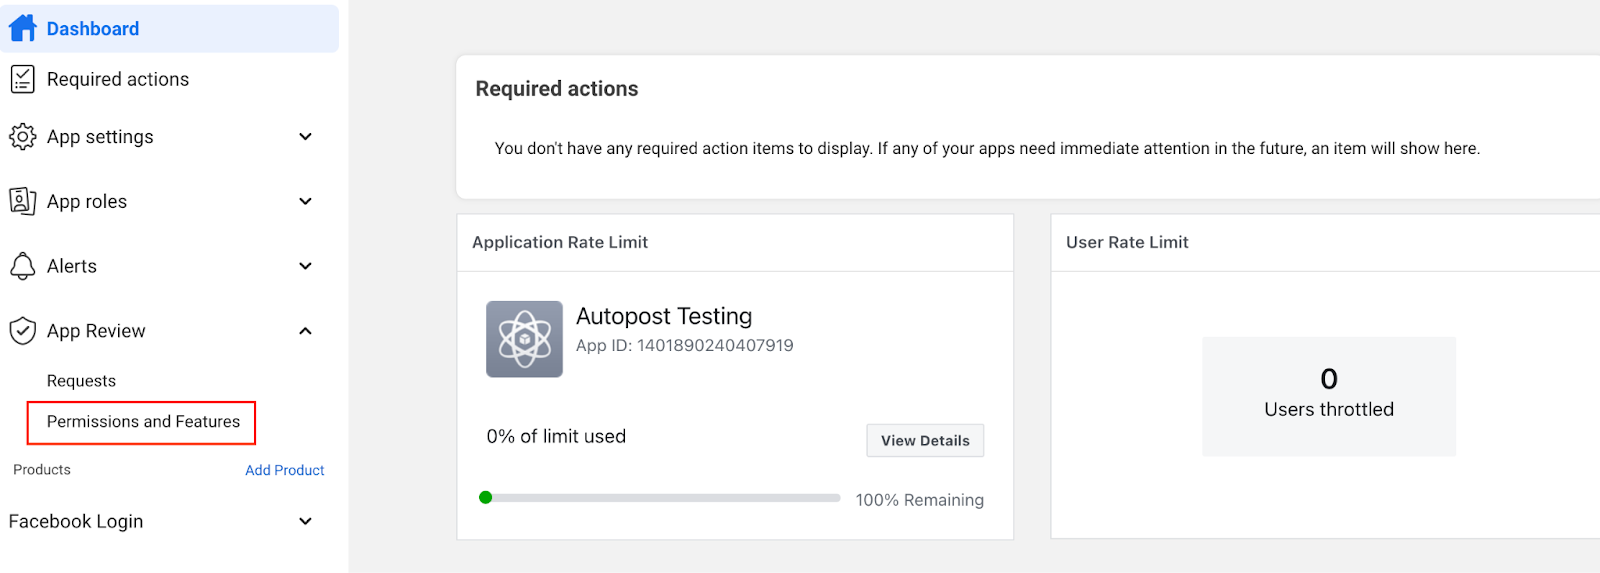
9. To activate Facebook Autopost functionality, follow these steps in your developer account dashboard:
Navigate to the "App Review - Permission and Features" section.
Request the following permissions:
pages_manage_posts(For auto-publishing from Bold to your Facebook page): The pages_manage_posts permission allows your app the ability to create, edit, and delete your Page posts. If you have access to pages_read_user_content, you can also use pages_manage_posts to delete Page posts created by a User. You can use this permission to create and delete content on the Page.
pages_manage_metadata(To track engagement): The pages_manage_metadata permission allows you to subscribe and receive webhooks about activity on the Page, and to update settings on the Page. You can use this permission if you need it to help the Page Admin administer and manage the Page.
pages_read_engagement(To track engagement): The pages_read_engagement permission allows your app the ability to read content (posts, photos, videos, events) posted by the Page, read followers data including name, PSID, and profile picture, and read metadata and other insights about the Page. You can use this permission if you need it to help the Page Admin administer and manage the Page.
You may also be interested in integrating iZooto for Push Notifications.